The right telescope accessories can help you photograph the sky, the moon, the stars, and more. Learn how to choose the right ones for you.
By Luigi Papagno
As an amateur astronomer getting started with your first telescope, you could easily fall into a trap of collecting more accessories than you really need. Or, worse, you could get telescope accessories that are redundant and leave you feeling frustrated and unsatisfied.
Many people may not know what the essential accessories are and what characteristics these accessories need to have. This article will help clarify what makes quality eyepieces and filters, as well as which types and how many of each you need.
Telescope Eyepieces
When it comes to purchasing astronomy gear, quality always trumps quantity. You only need a handful of eyepieces and a Barlow lens to be able to have a full viewing experience. Eyepieces are not that complicated to understand, although they have many specifications, such as magnification and focal length, that can often confuse people. Unfortunately, in that confusion, you can easily end up with more eyepieces than you need.
Telescope Magnification
To understand magnification, you need to know what focal length is. A telescope’s focal length is the distance from the primary lens, or mirror, to the point where the light rays come together to focus and form an image. Focal length is measured in millimeters, and it is a determining factor in the magnification power of a telescope. The focal length is usually printed on the telescope and can range from 400 to 3,000 mm.
RELATED: BOOK: SEE IT WITH A SMALL TELESCOPE
Eyepieces are telescope accessories that have their own focal length, which lets you know the magnification the eyepiece offers you. Just divide the focal length of your telescope by the focal length of the eyepiece, and the result is the eyepiece’s magnification.
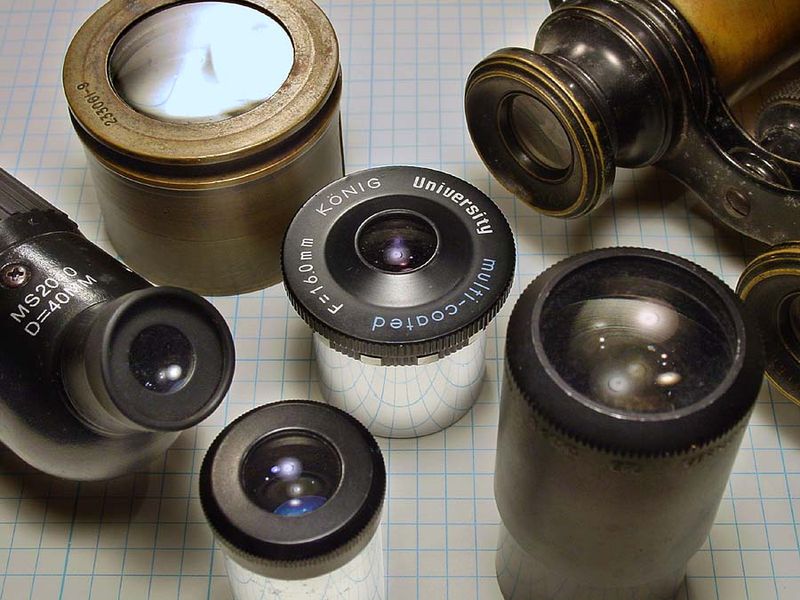
However, don’t be fooled: you do not necessarily want very high magnifications from any of your telescope accessories. Some celestial targets, such as the Moon, do well under even high magnifications. However, if magnification is too high you will often end up with very bright, unresolved fuzz. There is also a limit to the amount of magnification the telescope or eyepiece can withstand. To calculate this, take the focal ratio of the telescope (which is the focal length divided by the aperture) and multiply it by seven. This will give you the maximum focal length of an eyepiece that the telescope can accommodate.
Field of View
The apparent field of view (FOV) of a telescope eyepiece is most commonly measured in angular degrees. FOV tells you the width of the sky the eyepiece can “see.” This can range from wider views, such as a whole asterism (a recognizable pattern of stars, which may be part of one or more constellations), to just the full Moon.
However, what is even more important is the true field of view, which is the result that you get by dividing the apparent field of view by the eyepiece’s magnification. This significantly reduces the FOV number but is a far more accurate description of what you will see.
Telescope Eyepiece Designs
There are many designs of telescope eyepieces. Please note that the number of “elements” means the number of lenses contained in each eyepiece.
The Kellner eyepiece is a three-element design that offers good corrections on aberrations and a standard field of view. The downfall is that if you have a telescope with a shorter focal length, this eyepiece will not really stand up to it.
An Orthoscopic eyepiece has four elements, and a Plossl eyepiece has five. These make for excellent eyepieces all around and can be priced quite well. They are well-corrected and have a standard FOV, ranging from 45 to 52 degrees.
Panoptic, Nagler, and Tele Vue are all eyepieces with more than six elements. Their FOV is extremely good (67 to 82 degrees), and they deliver much crisper images. Being at the top of the quality range also means that they are at the top of the price range, but if you can afford them, they are most certainly worth it.
Barlow Lens
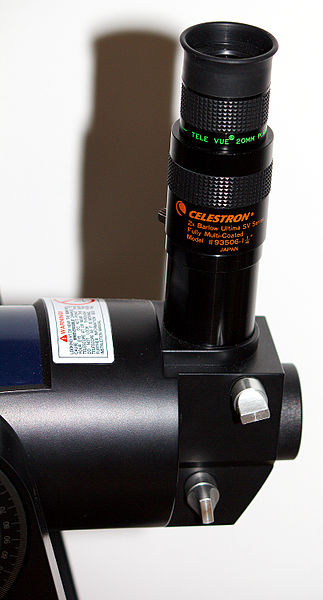
Barlow lenses are not technically eyepieces, but they are almost certainly just as valuable. The Barlow lens fits between the focuser and the eyepiece and doubles, or even triples, the magnification. Just be careful that you don’t end up with extra eyepieces that are easily replaced with another eyepiece paired with a Barlow lens!
Filters
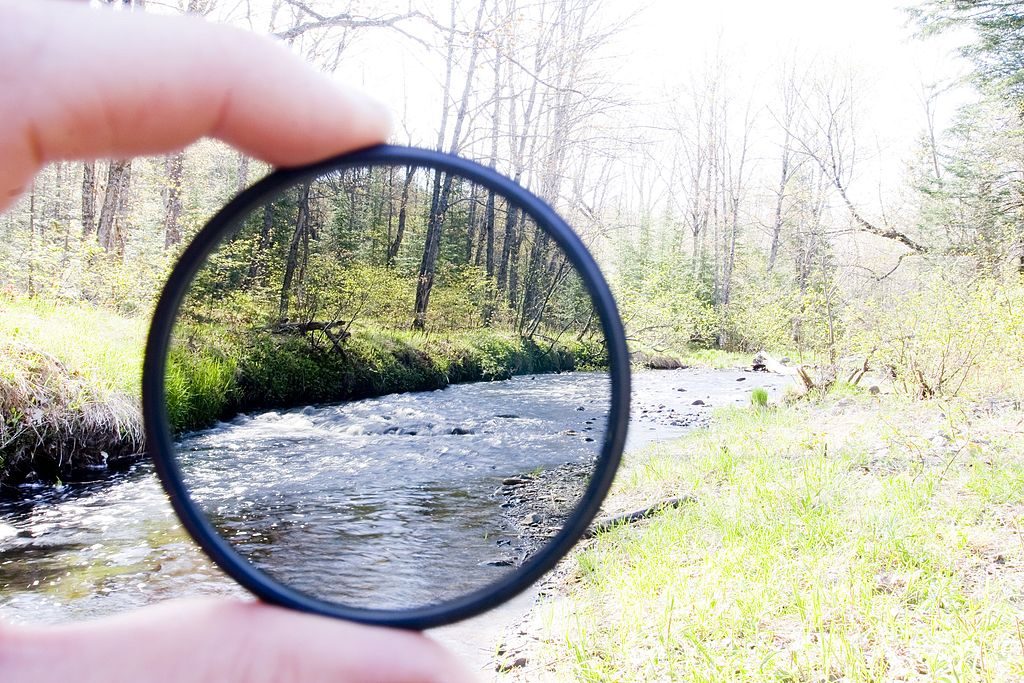
Many people may wonder if they need filters at all. The short answer is yes. Filters enhance color, improve visibility, make features pop out, and even cut glare. The way that filters do this is all in the name: they limit certain wavelengths of light from reaching your eyes by blocking them out or reducing them, and allow other wavelengths to pass through.
LPR Filters
Living in or close to the city means that you should most certainly invest in Light Pollution Reduction (LPR) filters. Mercury and sodium vapor lamps, often used for street lighting, are responsible for a great deal of light pollution. They emit specific wavelengths, and LPR filters greatly reduce these wavelengths, giving you a significantly improved image.
Color Filters
If you intend to spend a significant portion of your viewing time focusing on the solar system, then investing in color filters can yield some pretty satisfying results. Blue filters are especially suitable for all-around use, bringing clarity to features on Mars, Jupiter, and Saturn. Try playing with different colors of filters for different planets, and perhaps even stacking them for some surprising outcomes.
Oxygen III Filters
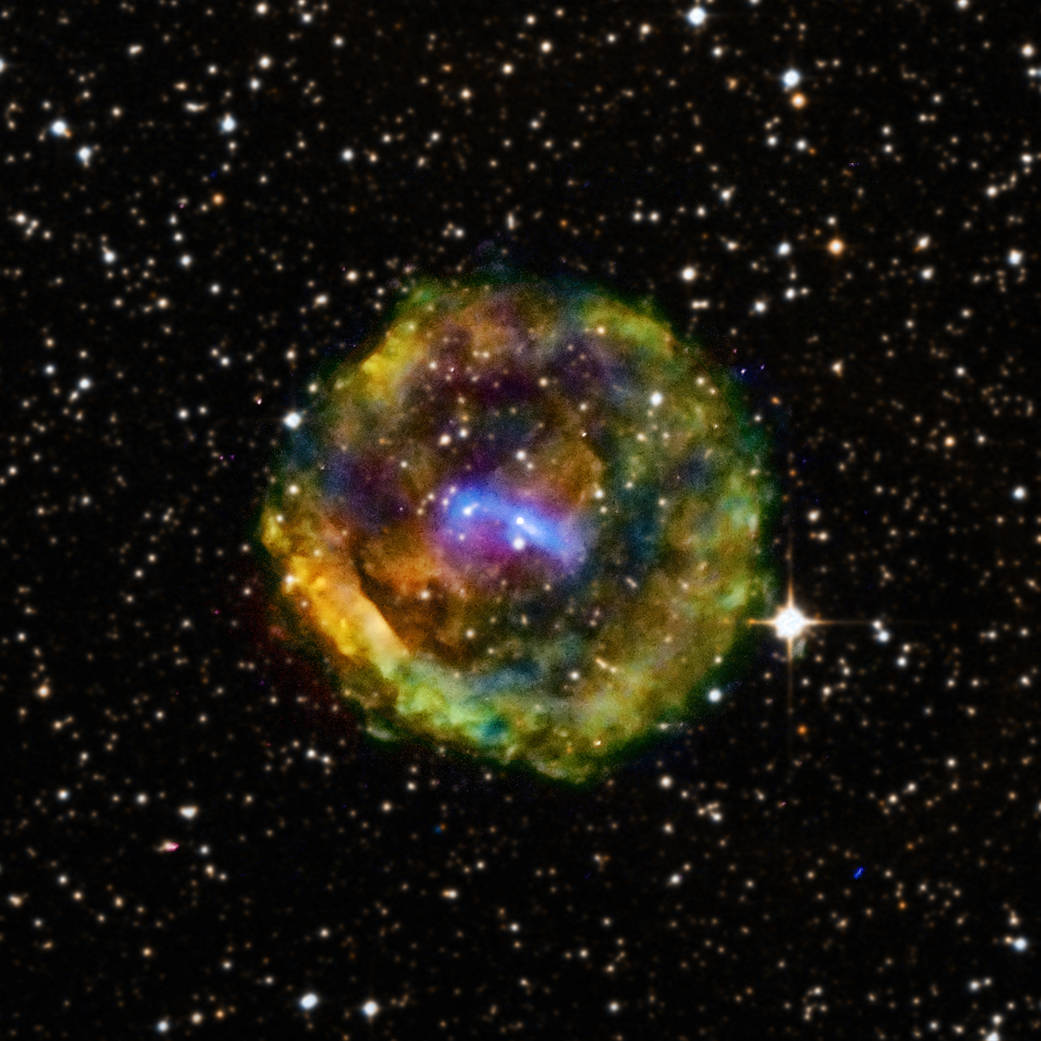
If your primary interest lies in viewing Deep Sky Objects (DSO), then Oxygen III (OIII) filters are your best bet. They are perfectly designed for viewing planetary nebulae and emission nebulae in finer detail, and because of the light-blocking effect, they also give you a great black background canvas that provides a lovely contrast and makes the nebulae perfectly stand out.
Lunar Filters
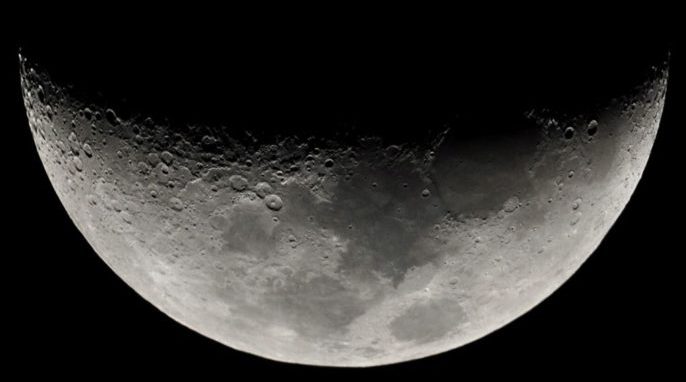
Finally, many amateur astronomers ask if Moon filters are worth it at all. Even looking at the Moon with unaided eyes gives you a fairly good idea of how bright it is; it is the brightest and closest nighttime celestial object. Now imagine pointing your telescope, or even a pair of binoculars, at the Moon. Even though the Moon can be viewed at very high magnifications, the glare from the Moon is quite real and can be harsh on your eyes. This brightness also causes whitewashing, meaning many of the finer lunar features are blocked out. So to answer the question, a Moon filter is a valuable addition to your collection, as it softens the Moon’s light and enhances certain features, making them easier to view.
You do not need the whole spectrum of filters; a few carefully selected color filters, a good OIII filter, and an LPR filter will suffice. Always be sure of your eyepiece investments, though: buy the correct ones for your telescope, and spend a little extra on good-quality pieces. If you are ever unsure of what eyepieces to get, or how to calculate focal length, focal ratio, and magnification as well as magnification limits, there are many good online calculators to assist.
More about Telescopes, Great and Small
ADVENTURE THROUGH THE UNIVERSE FROM YOUR TELESCOPE
THIRTY YEARS OF THE HUBBLE SPACE TELESCOPE
GREEN BANK TELESCOPE: TWO WEEKS AS A VISITING ASTRONOMER IN THE QUIET ZONE
HUBBLE SPACE TELESCOPE GOT THE GOODS!
About the Author
Luigi Papagno is a passionate observer of celestial objects. To learn more about astronomy and how to get the best out of your stargazing equipment, find him on Twitter @f1telescopes, where he shares insights on viewing the night sky.

